Happy New Year!
20 February, 2009 – 6:41 pmI am sorry that it has been a while since I last put up a new post, but I hope that you all had a good Christmas and New Year. I am certainly looking forward to this year.
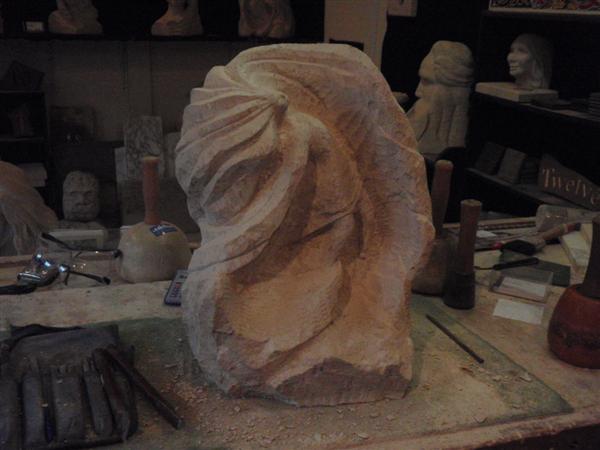
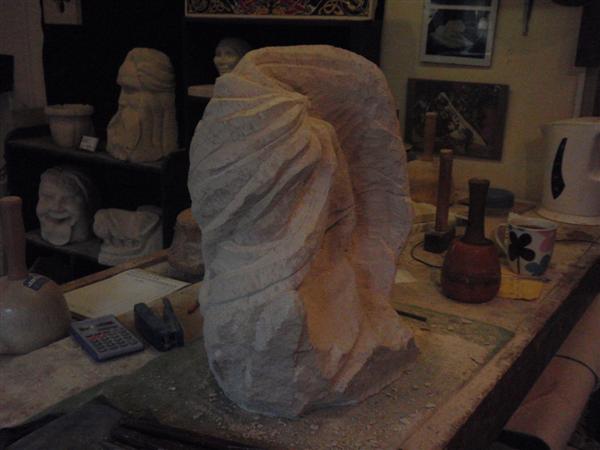
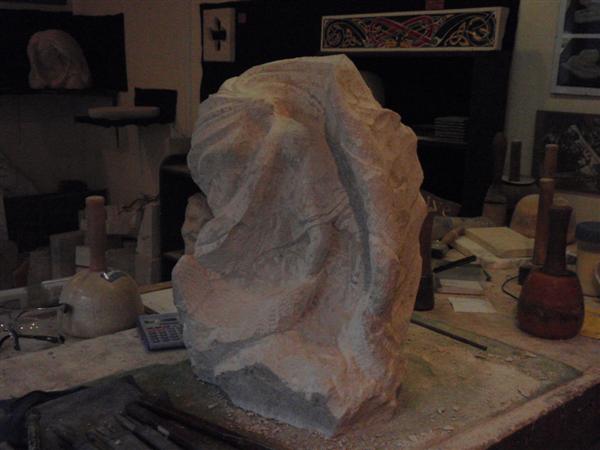
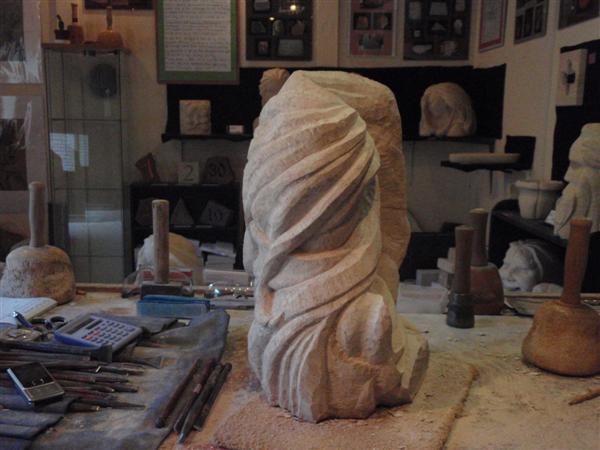
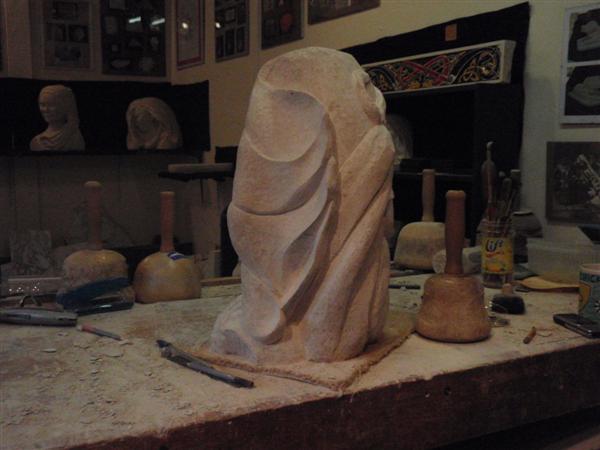
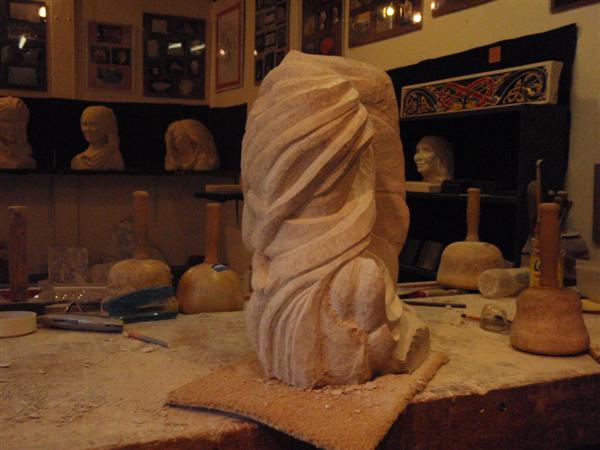
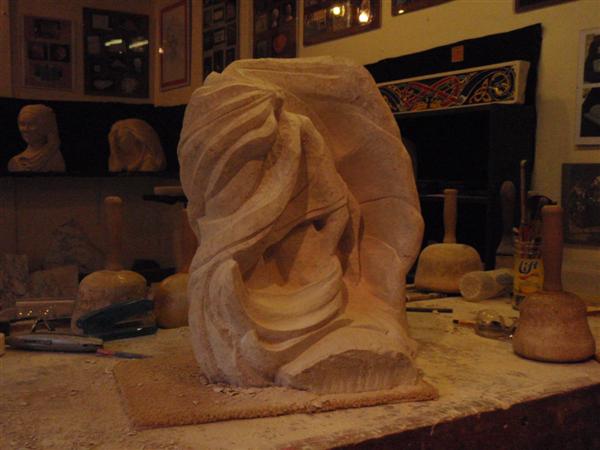
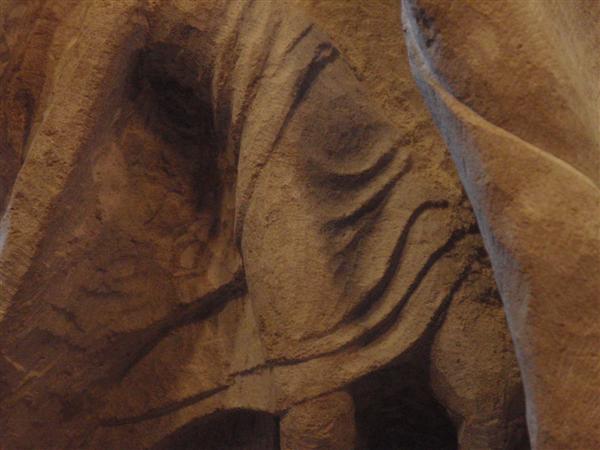
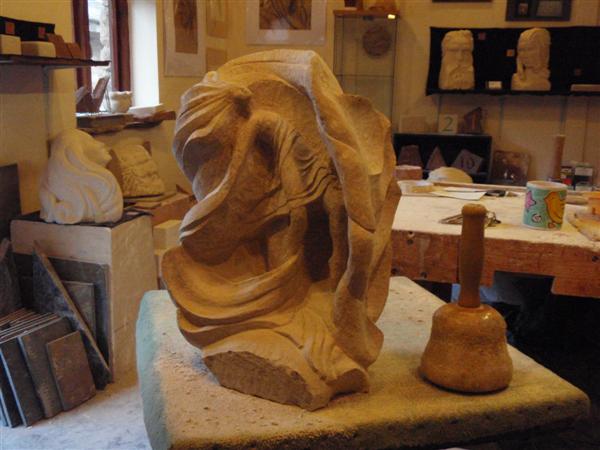
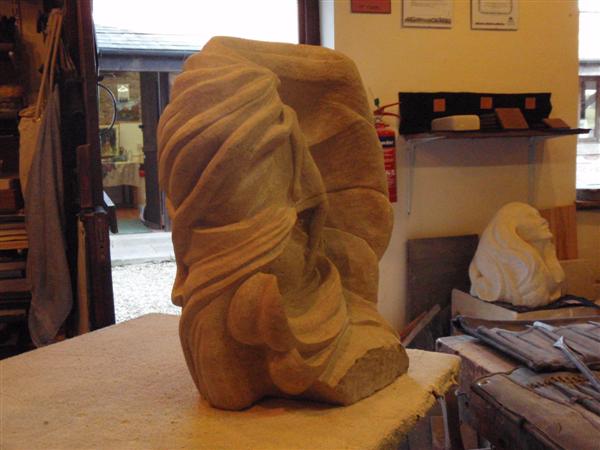
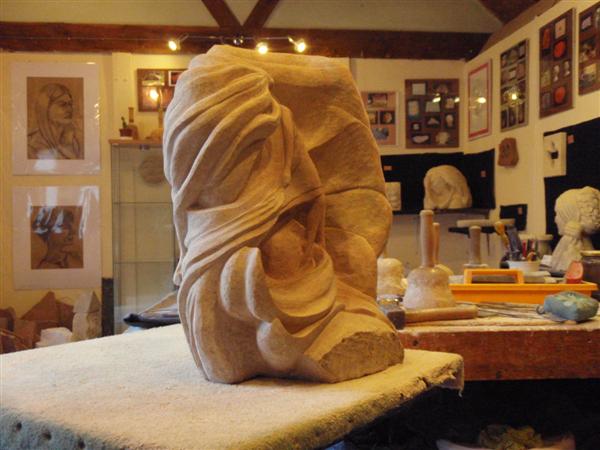
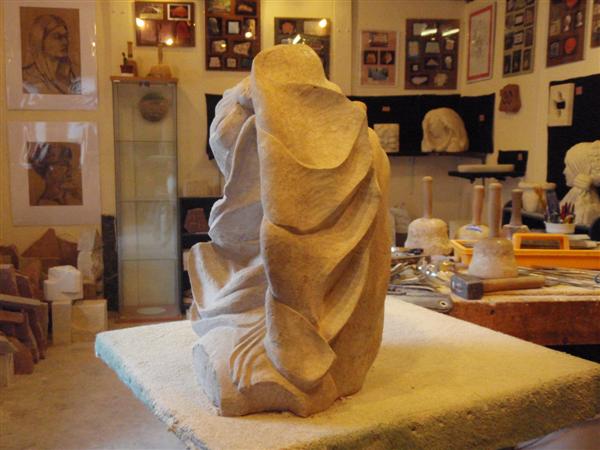
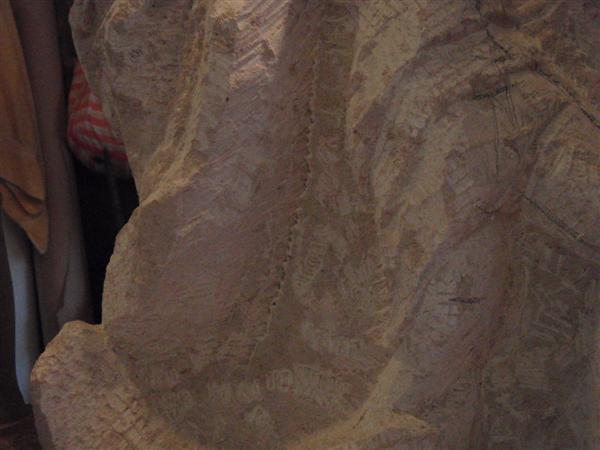
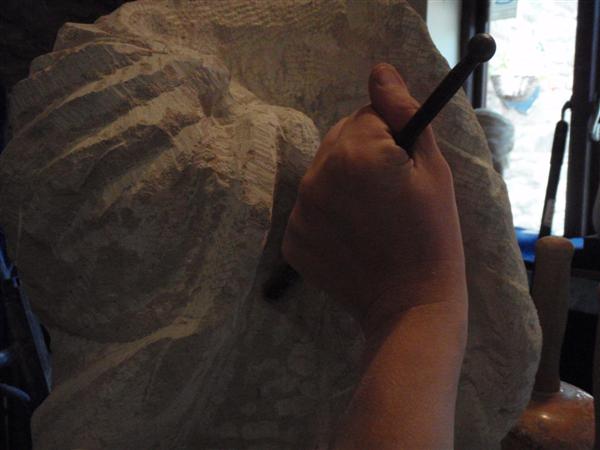
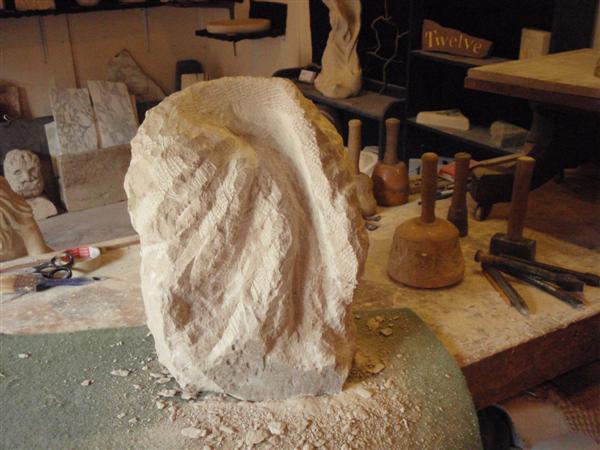
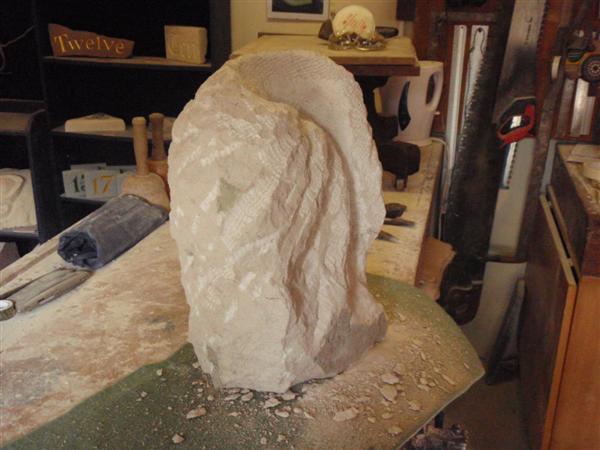
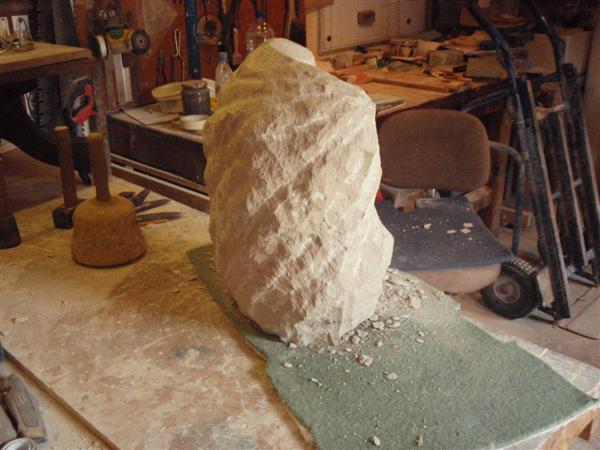
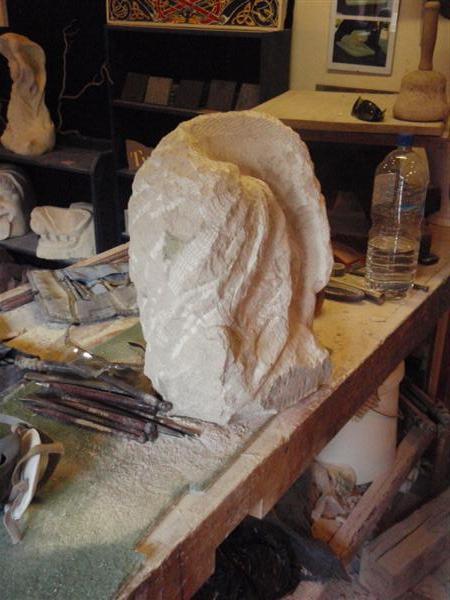
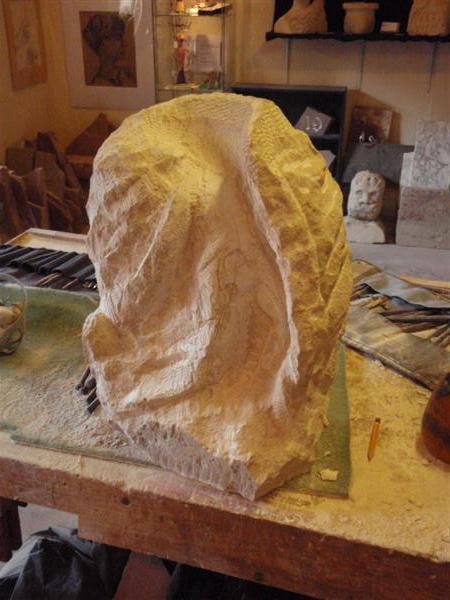
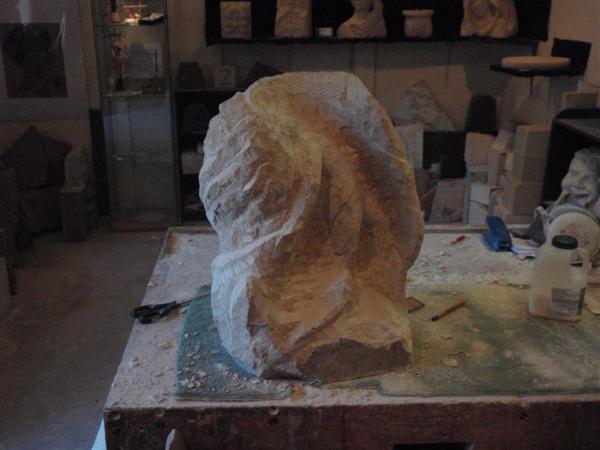
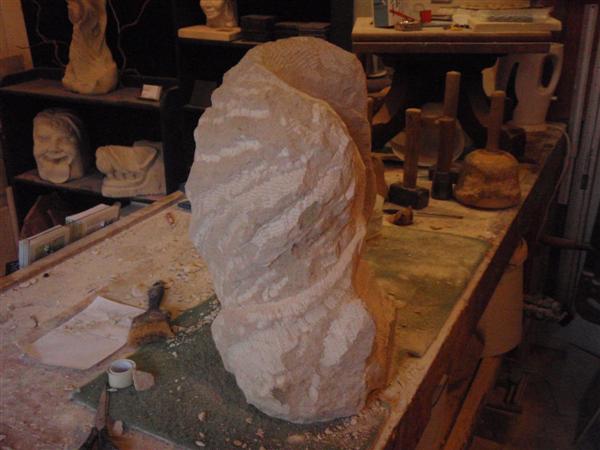
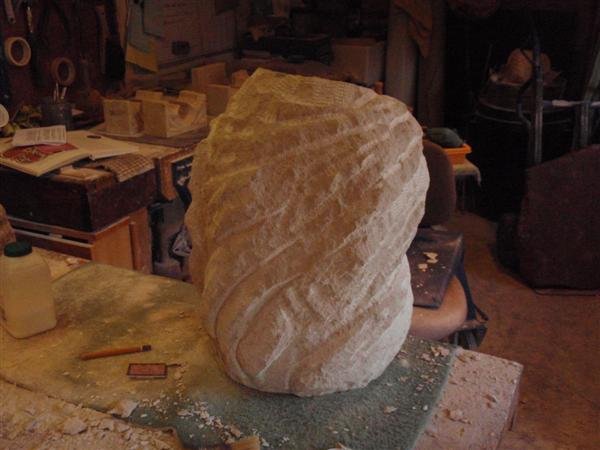
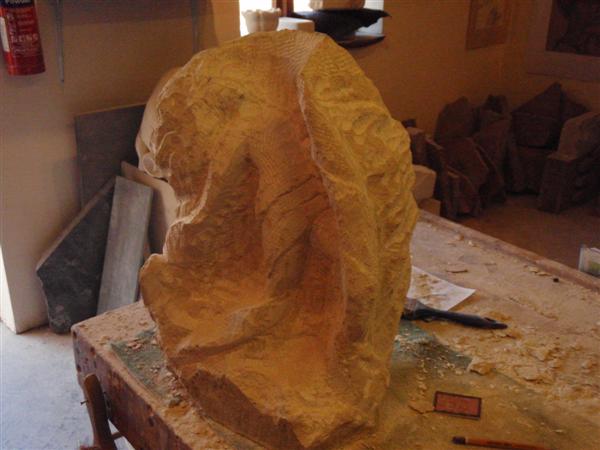
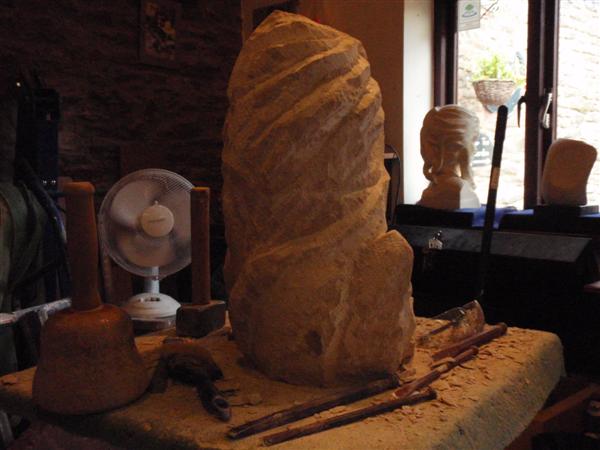
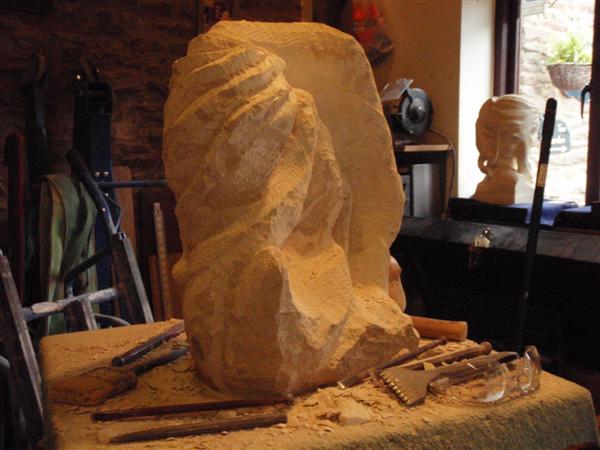
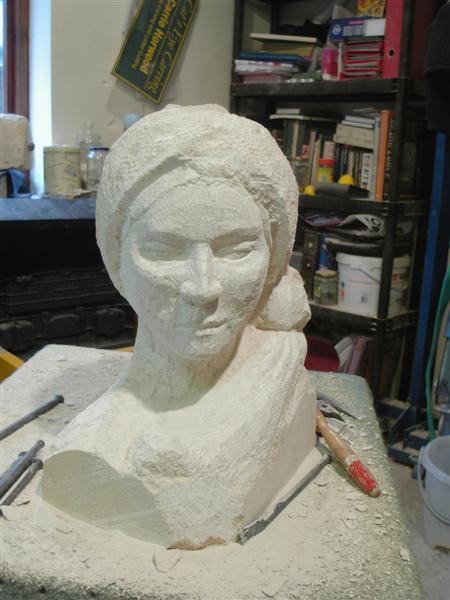
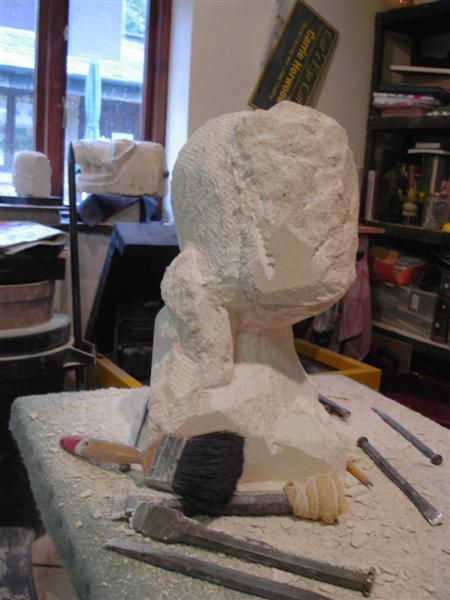
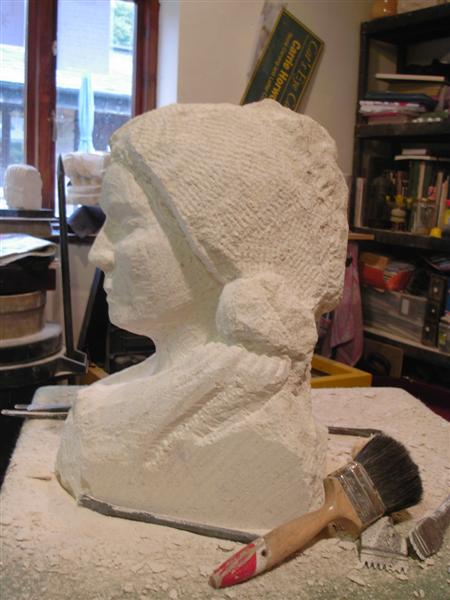
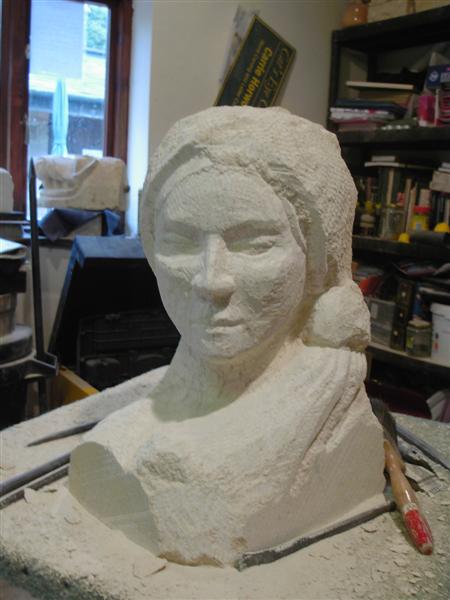
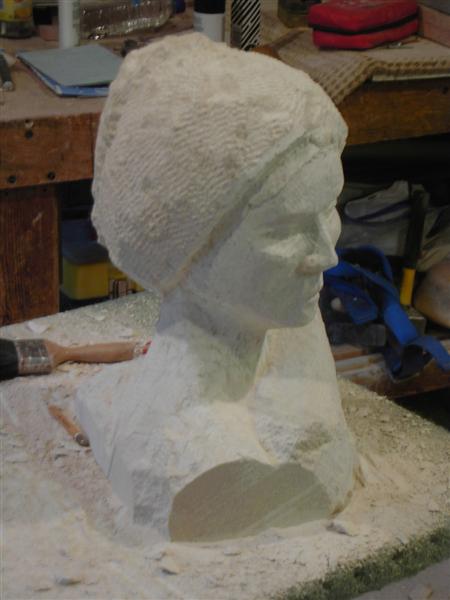
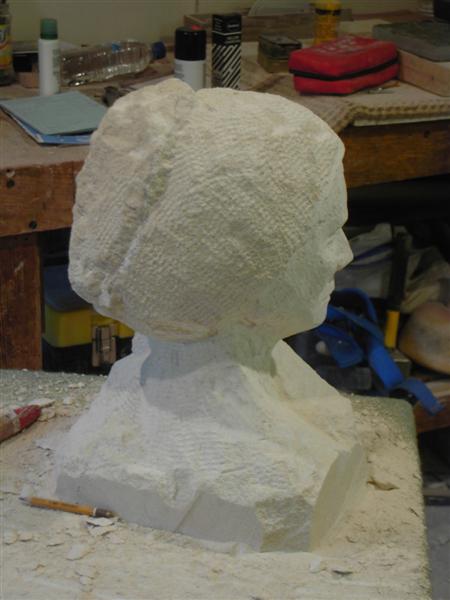
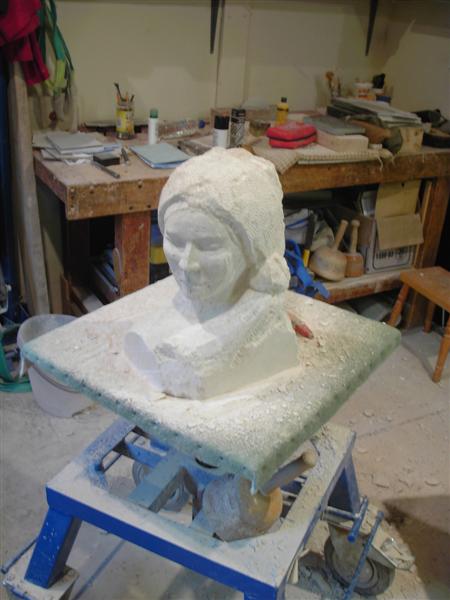
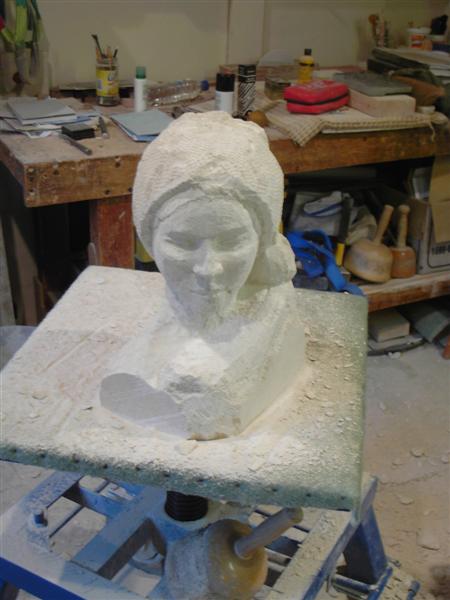
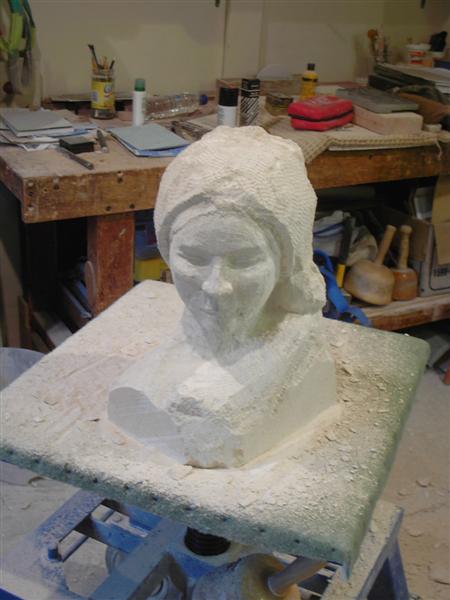
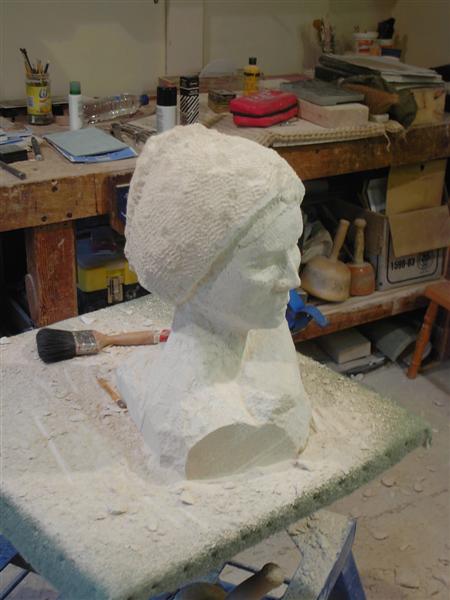
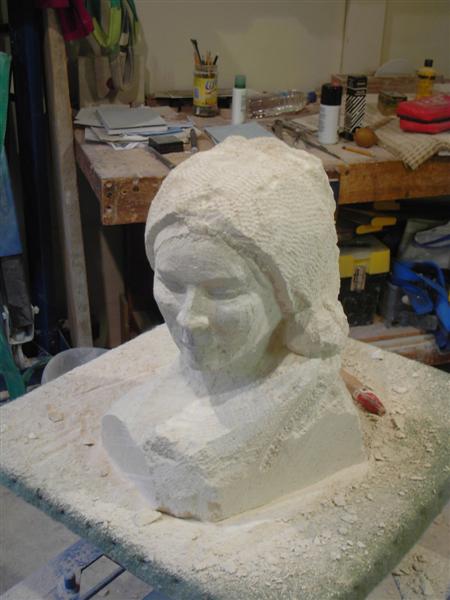
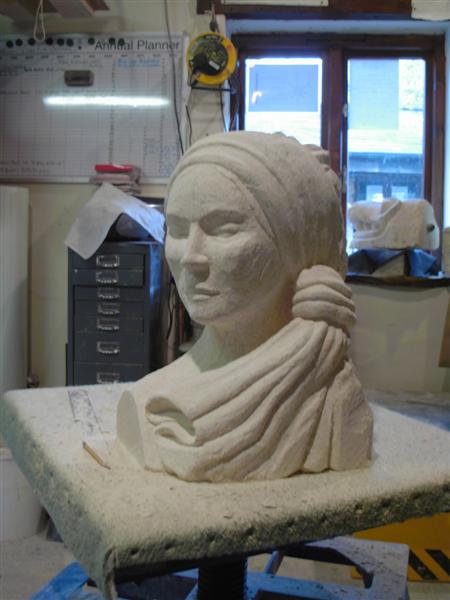
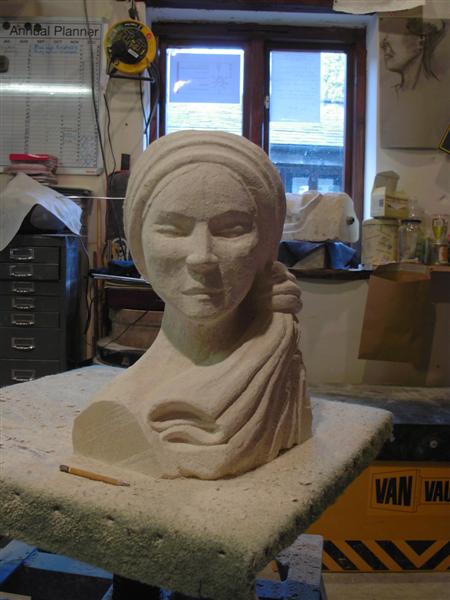
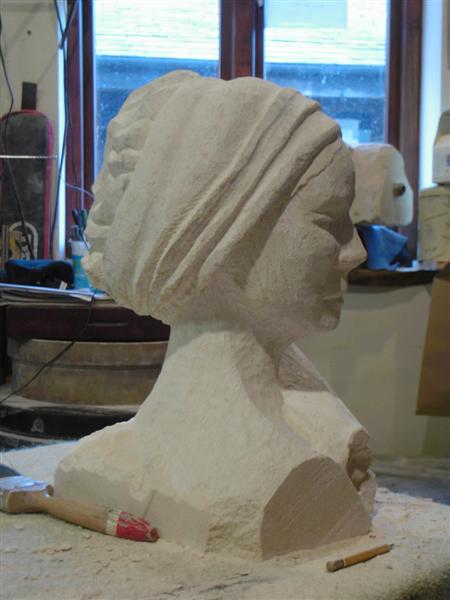
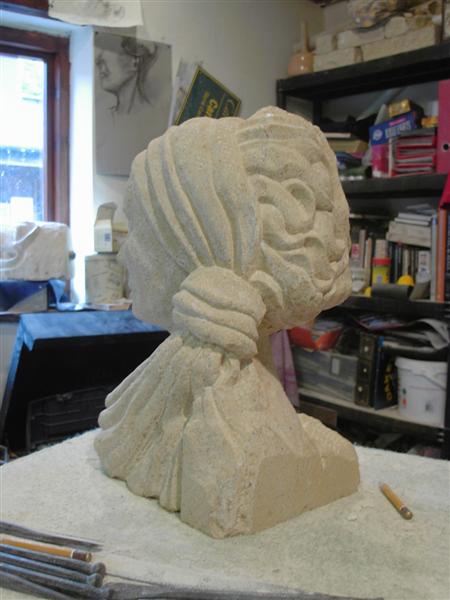
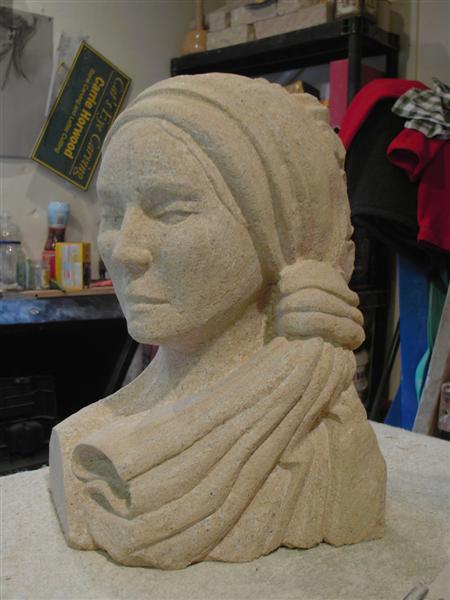
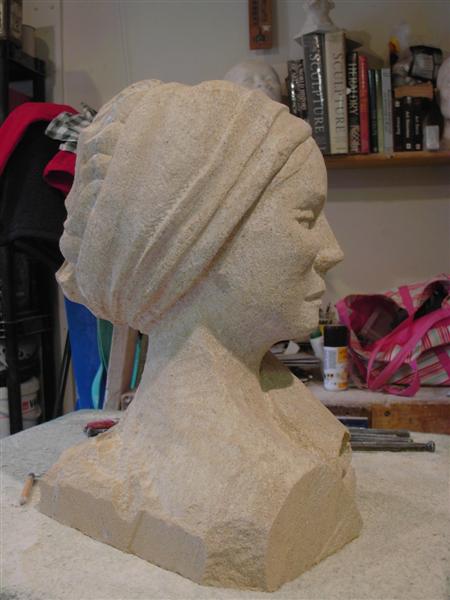
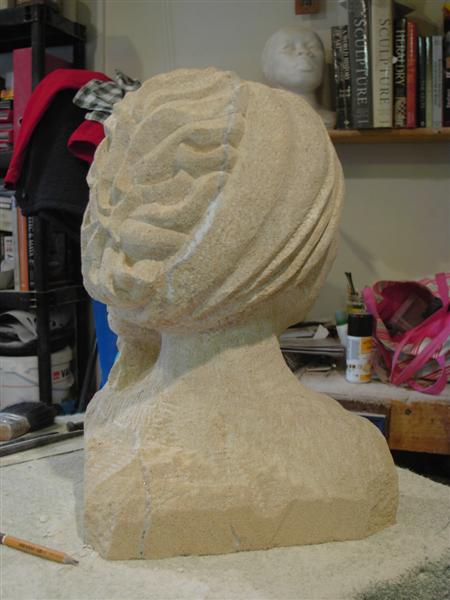
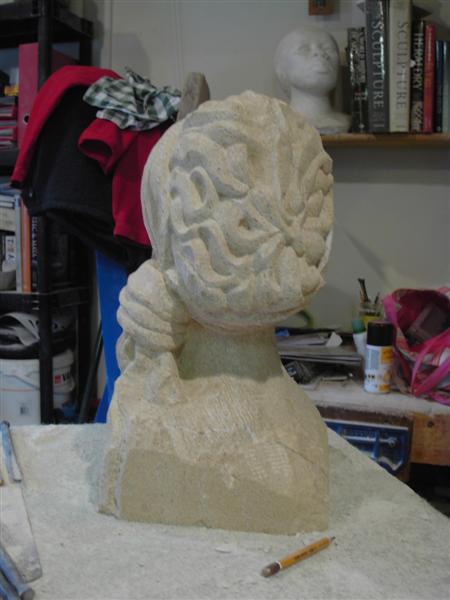
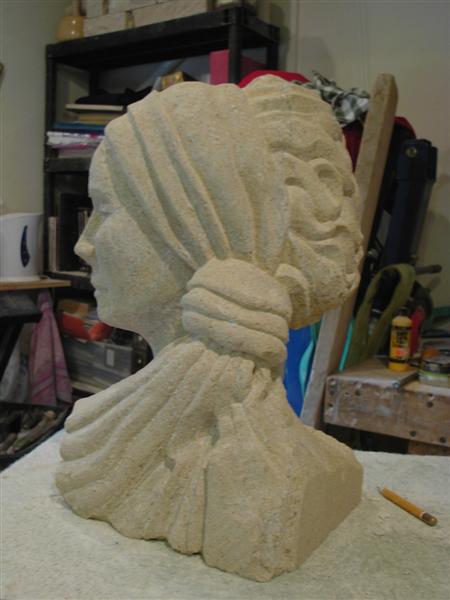
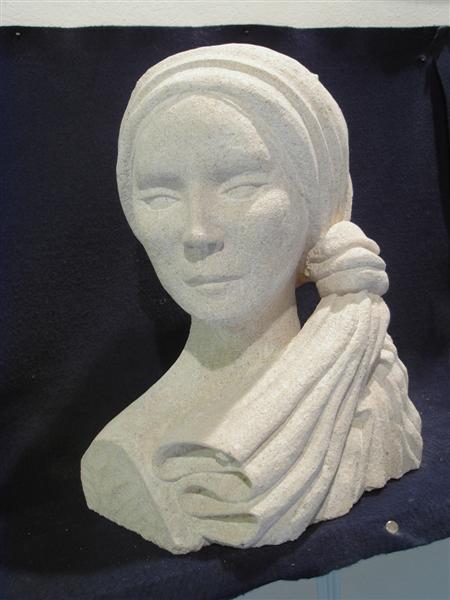
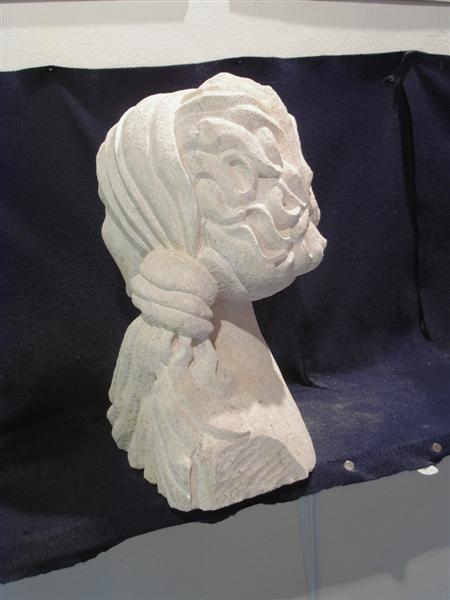
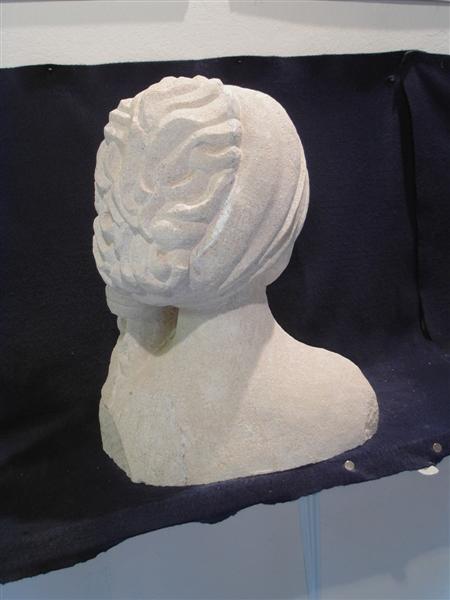
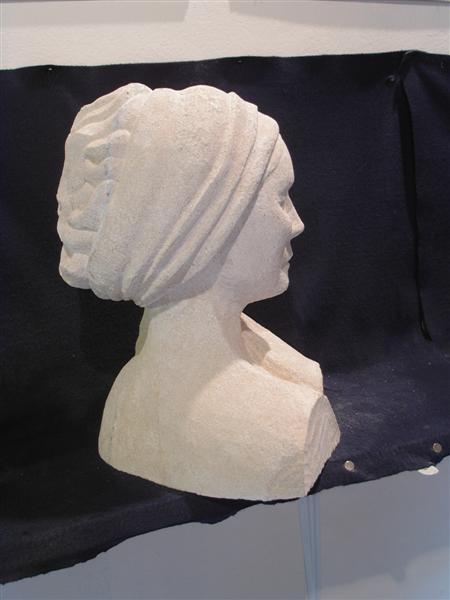
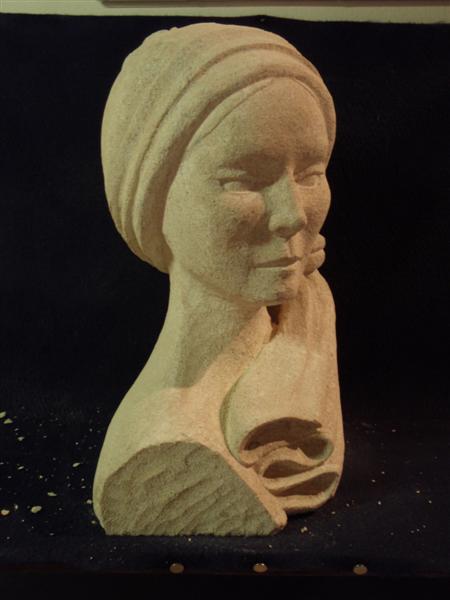
I have been quite busy, which is very good. I have been working on 3 new carvings, which are coming along very well and I hope to have some photos to show you soon.
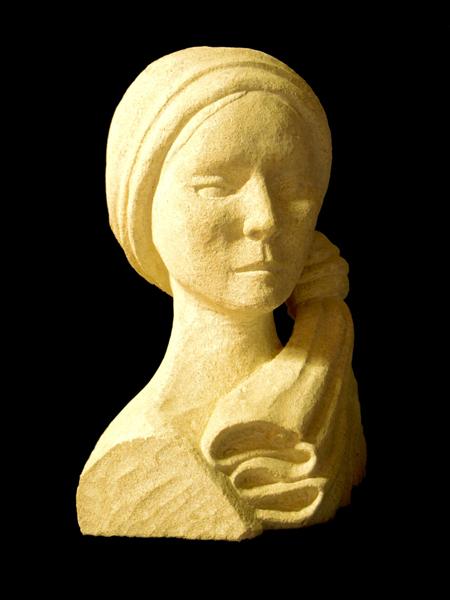
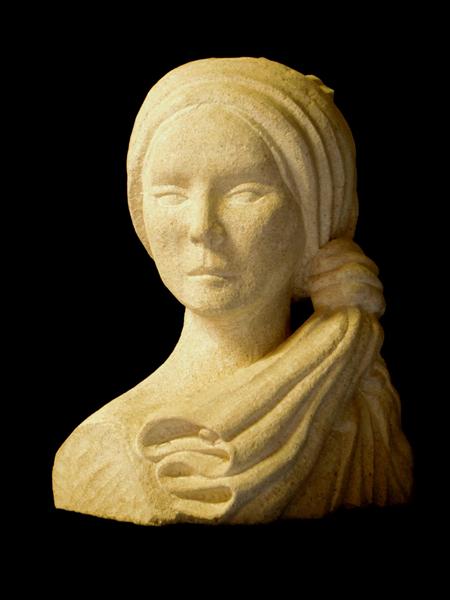
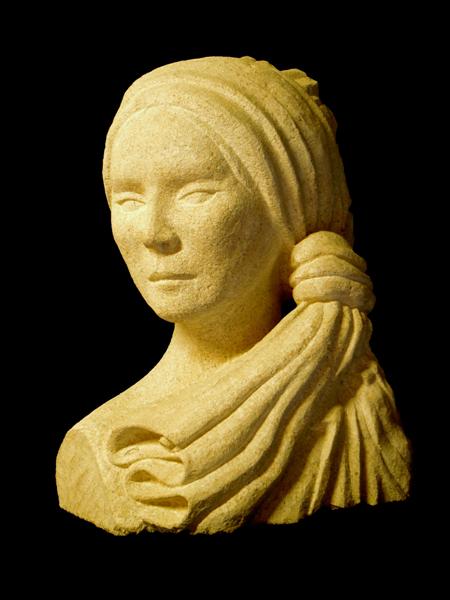
Just before Christmas, I sold Meditation and The Elfin Girl, which was a huge boost to my confidence.
I have also started to organise this years Stone Carving Festival. This will take place on the 23rd/24th and 25th of May, at the Harts Barn Craft Centre. Lets hope the weather holds for us this year. The charities that the profits from the sale of the carvings will go to haven’t been finalised yet, but don’t worry we will choose some worthy ones. I will give you more details once they have been finalised.
I will be taking part in 2 other carving events this year , one at The Highnam Court Spring Fair on the 25th and 26th of April, there will be 12 of us carving Green Men out of Cotswold limestone, with a silent auction being held on the Sunday afternoon, this is to raise money for The Pied Piper appeal and Gloucester Cathedral. Then in July around the 18th and 19th , I will be travelling to Trondheim in Norway to take part in another fantastic carving experiance. We will be carving local soapstone, the Cathedral there is built from it. It’s all very exciting!!
In the near future, I am giving David Smith from BBC Radio Gloucestershire the opportunity to have a go at some carving, this will be broadcast in the next couple of months. As soon as I know when, I will let you know, needless to say I am looking forward to his visit!!
Well thats all for now. Thanks for reading. Carrie.