10 March, 2009 – 9:59 pm
Here’s an update on the charity Stonemasons festival that I am organising.
It will take place on the 23rd/24th/25th May 2009. At The Harts Barn Craft Centre, Longhope, Gloucestershire. GL17 0QD.
Our charities will be; All Saints Church in Longhope, they are raising money for a restoration project, and The Cobalt Appeal, a cancer research charity.
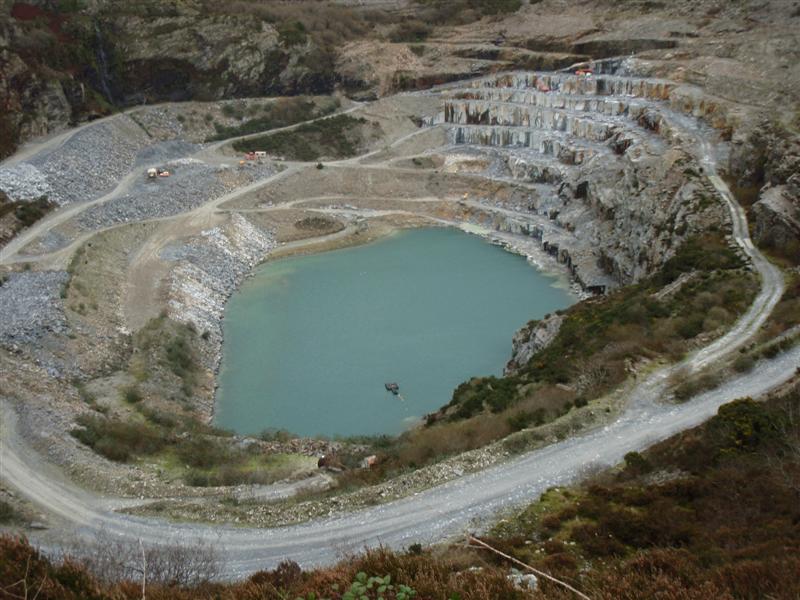
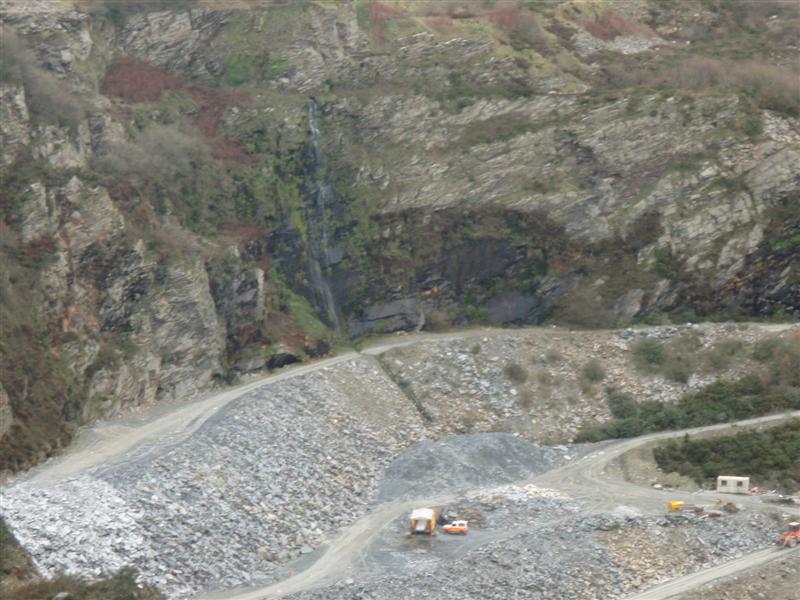
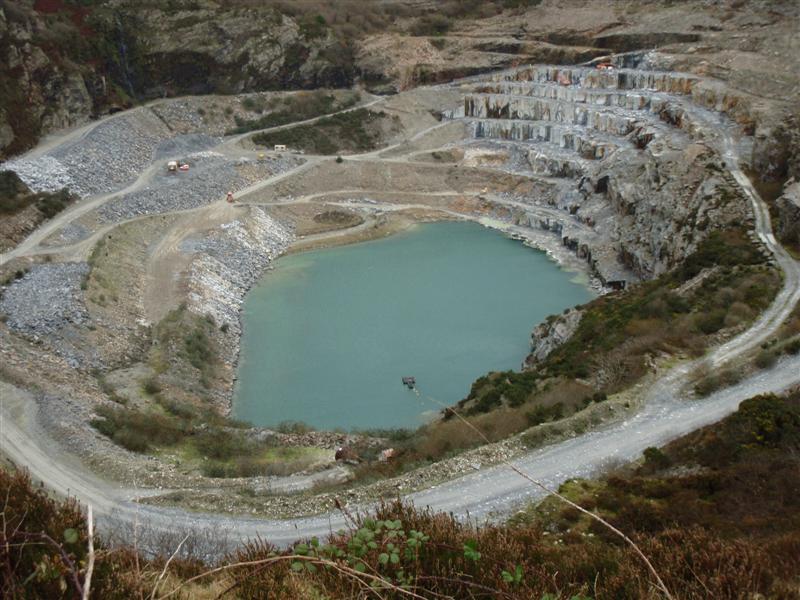
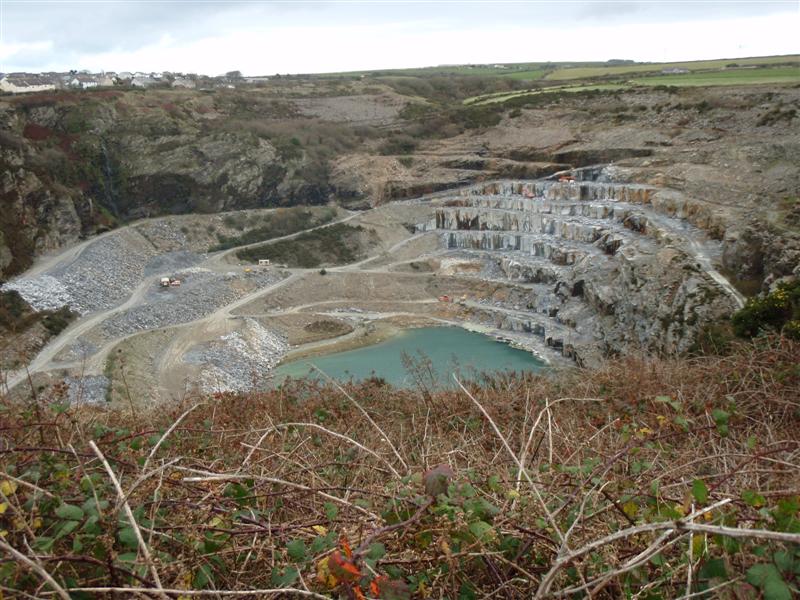
The stone has been very kindly donated for a second year running, by Veizeys Quarry on the Avening Road near Tetbury-my favourite carving material.
There will be a hog roast and cider tent, these are both produced locally!!
There is a small admission charge, for individuals- £2.50 and families -£5.00, with a free programme.
Obviously all the favourites will be in the courtyard, including the fabulous Old Dairy Tearoom.
Just give me a shout if you would like any more information.
See you there!!
Posted in Stonemason's Festival | No Comments »